When I bought my fixer upper house, I had grand ideas and I'm slowly marking them off one by one to make my house a comfy place to live. My latest project was to build a corner pantry. My kitchen did not have any extra storage so I installed a shelving unit (left picture) and have been using that for 10+ years. I finally jumped with all the time I've had stuck at home during COVID and built a corner pantry for around $350.
I wish I could give you a blue print of this project but we (my brother and I) had to tweak it as we went. The basic idea was 16 inches for the out side walls and the door is 23ish inches. For the shelves, I used a 12 inch wide board. The shelves ended up being four feet for the long section and three feet for the shorter wall.
Items Purchased (the items with (?) is the items I already had on hand:
9 2-4-8 Studs ($34)
2 Drywall ($?)
1 Drywall Screws ($?)
6 1-12-6 Whitewood Board ($89) Shelves
6 1-3-8 Whitewood Board ($28) Shelf brackets
1 Screws ($?)
1 Door Jamb ($20)
2 Wood Shims ($3)
1 Door ($20) - found at a resale store! It is very heavy.
1 Hinges ($9)
1 Door Knob ($10)
1 Trim ($6)
1 Trim Nails ($?)
1 Caulk ($4)
1 Gallon Paint ($27)
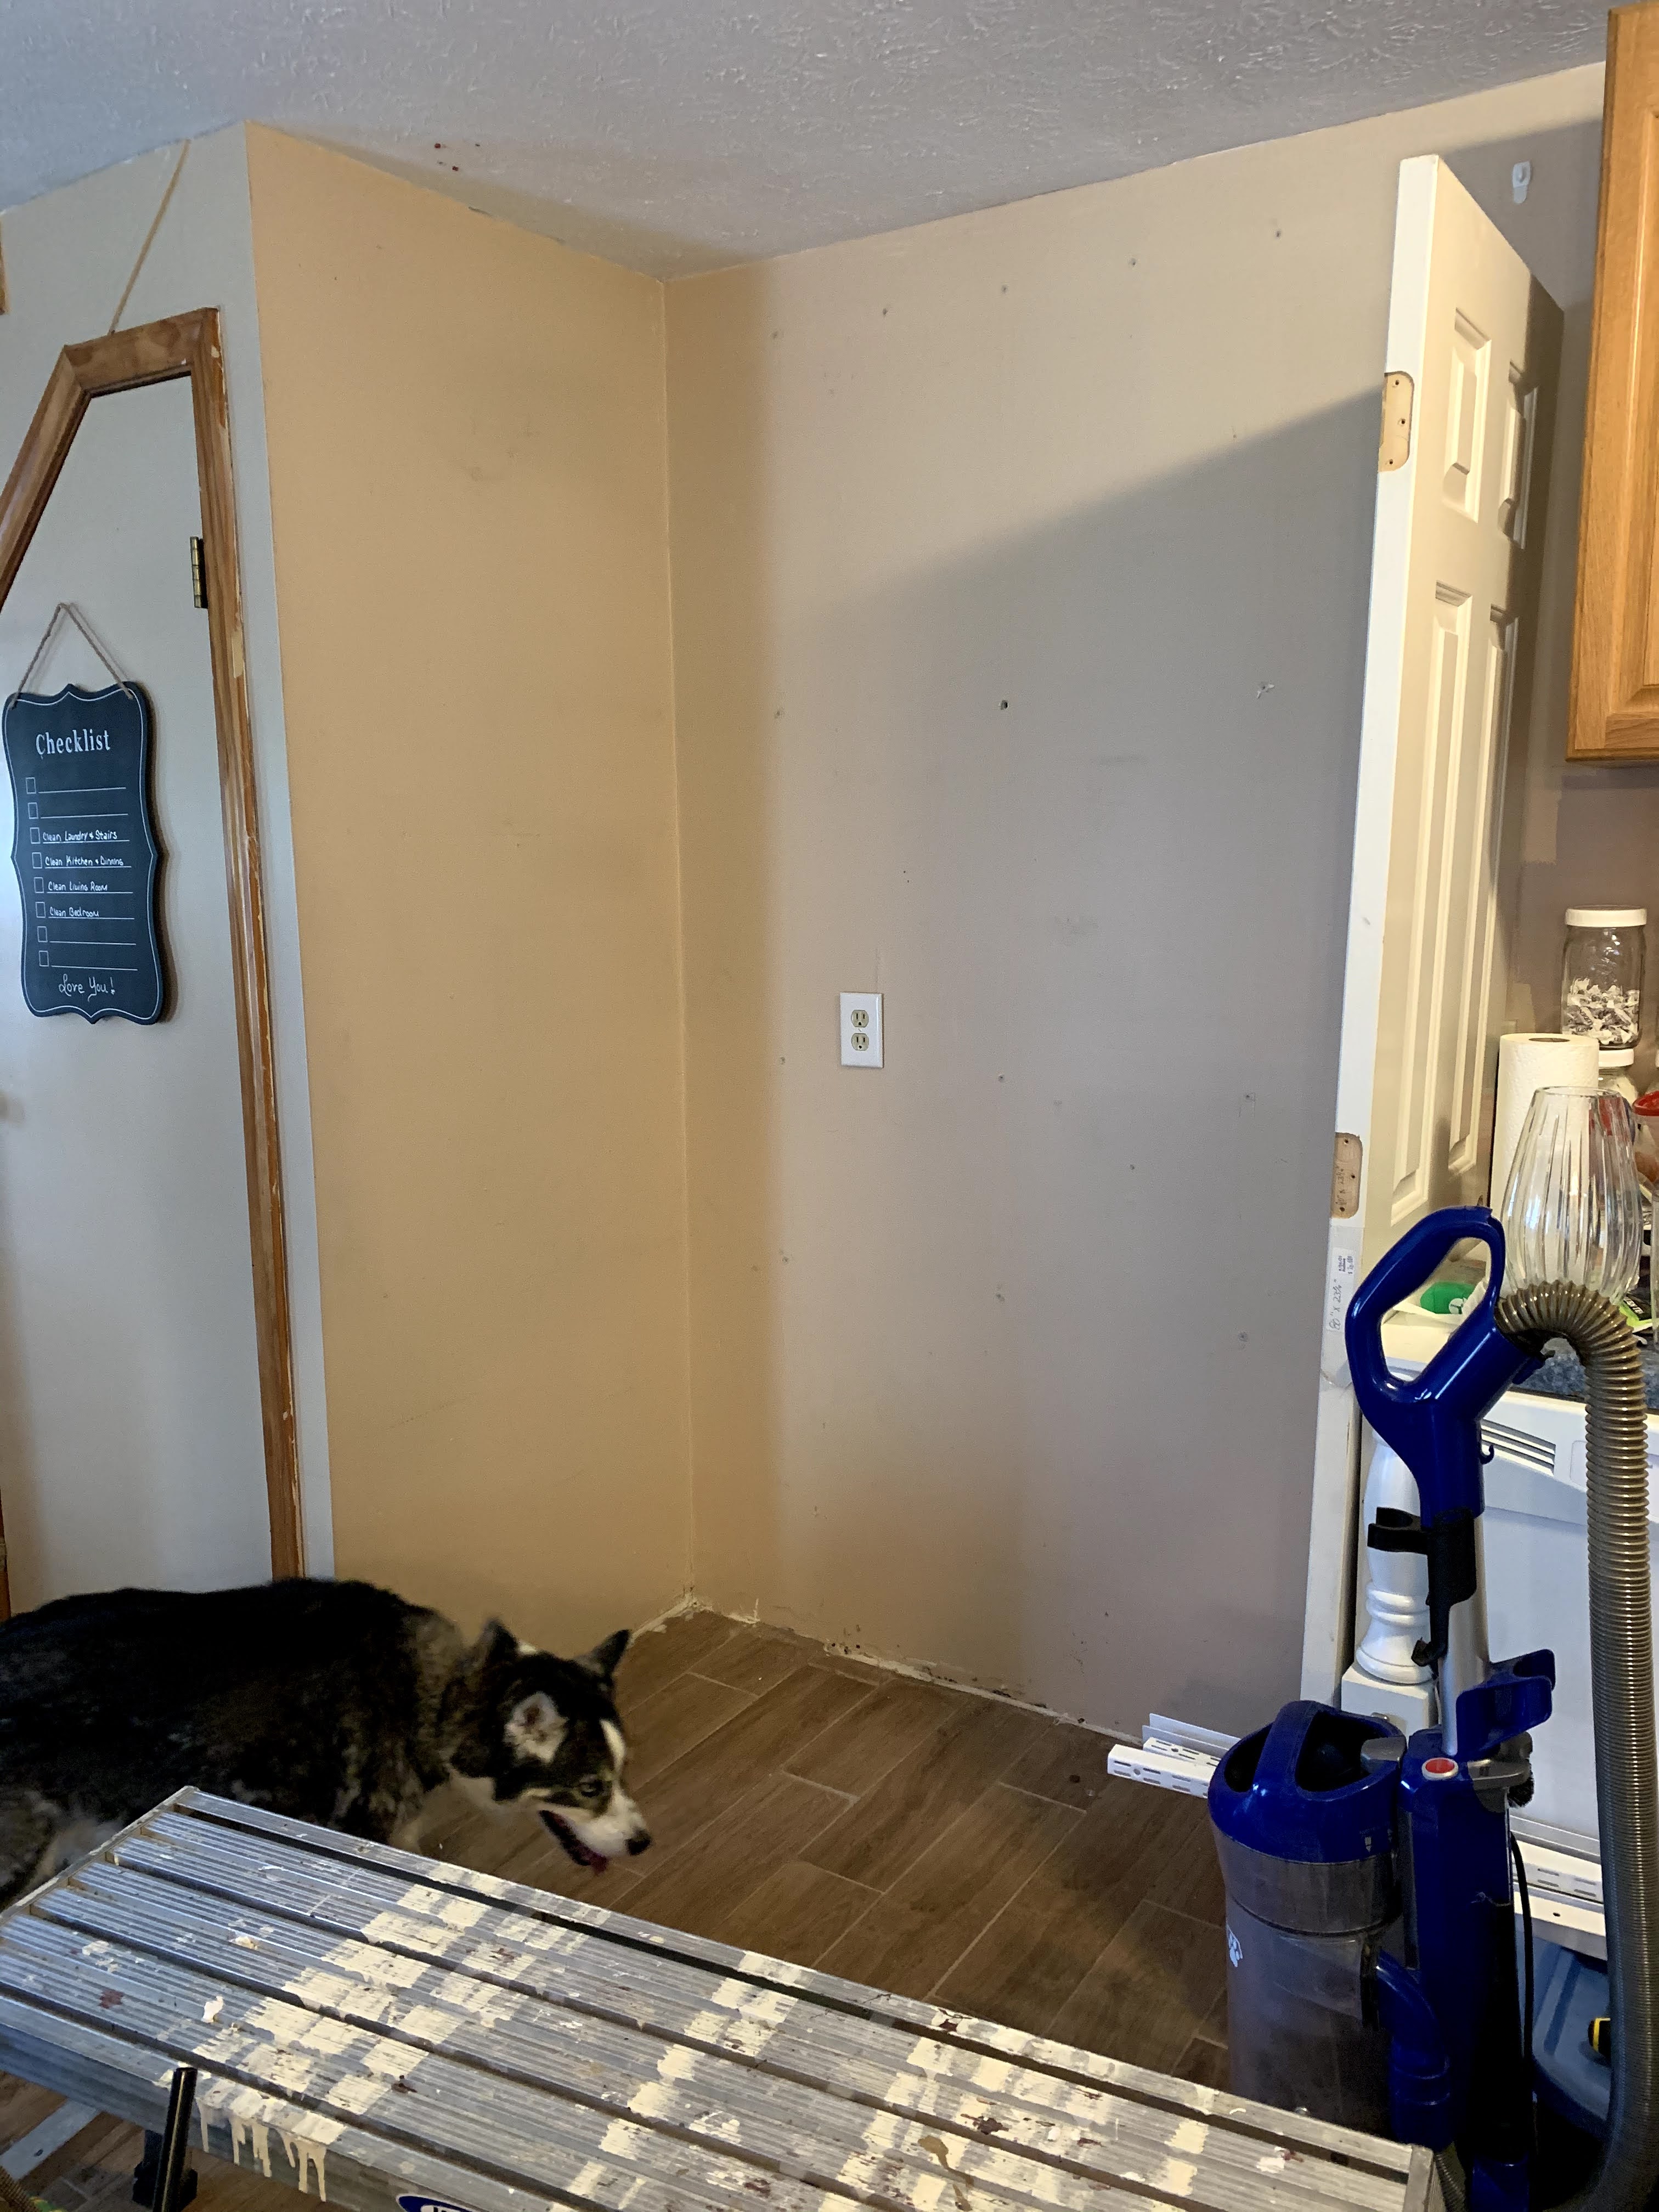
Meet my fur baby Scout! He has to be in the middle of whatever I'm doing. This is the space I was working with. When I first moved into my house, this area had the refrigerator and a longer counter. I cut the counter off and moved it to the other side of the kitchen, along with the refrigerator and shelves.
(BTW - make sure you hire someone that knows how to attached shelves to the walls. The guy I hired, did not attach them correctly and one came crashing down. I lost all my coffee mugs. 😥)
Next my brother built one side. I only wanted it as big as the shelves, which was perfect. I believe this was 16 inches, as the shelves was 12 inches.
For the other side, we had to make sure the door would fit so we went by that as to how big to make it. He had to cut angles on this side to make it line up with the door but we still kept it at 16 inches.
The top part took a little skill and I was glad my brother did this part as I'm not that great at angles.
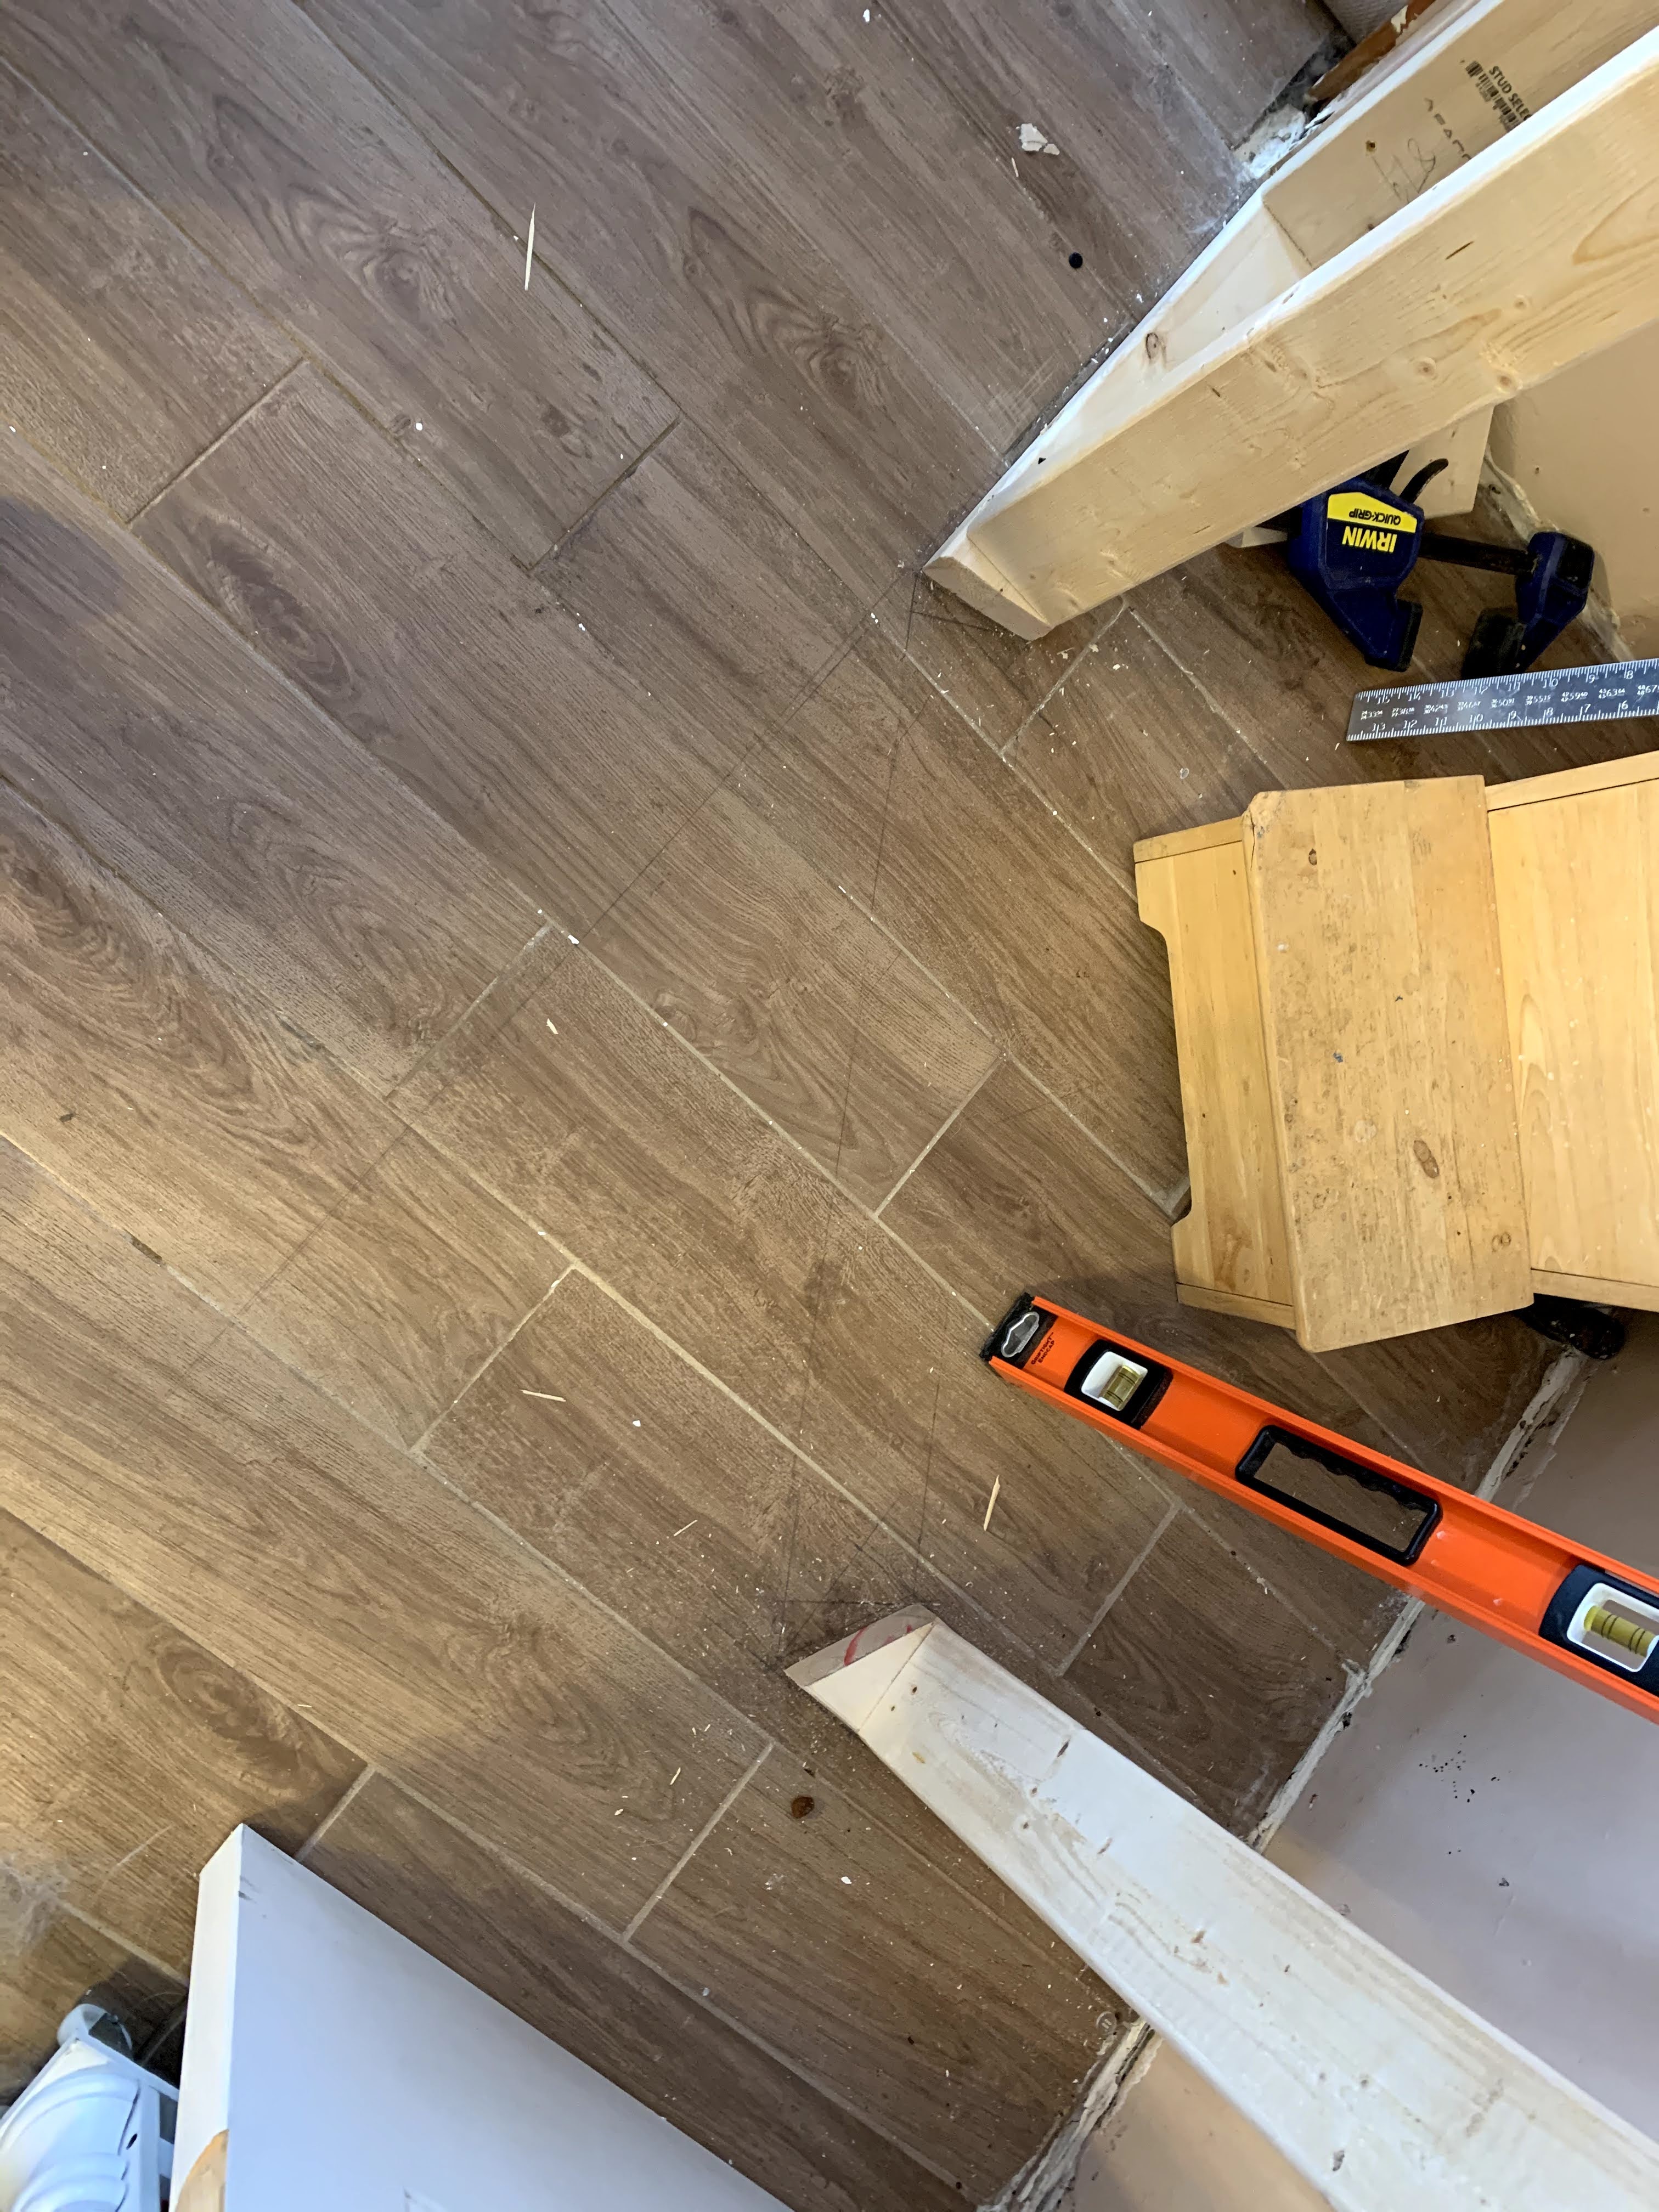
While he was playing around with the angles, I went ahead and marked where I wanted the shelves to be with tape so I could get an idea of how many shelves I would need and what it would look like. I wanted a few at different heights to allow for larger food items and a can dispenser to fit.
A close up of the angles for the door (the worst part of the job). As you can see, it took some math skills to get the right angles for the door to hang correctly.
Time for the door frame! I was getting excited when I saw this going up. I bought a kit from Lowe's which came with everything you needed to frame a door.
Door is up and the walls are being put in. We made a small mistake with this, as the drywall didn't match up flush with the other wall. It's something I will need to fix later on.
Both walls are up and I am so in love with this corner pantry! It is perfect for this small space. I also wanted that small area left on the right so that I could put my water cooler in it. I'm planning to build a few shelves above it beside the cabinets to give a little more storage for all my kitchen gadgets.
I finished it up with the trim kit from Lowe's.
Instead of installing a wired light, I bought a plug in light with wireless switch. This worked perfectly as I had a plug already inside the pantry. I hung it from the ceiling with a hook that has a lock on it so it wouldn't fall down if it. I then attached the line against the side of the door frame and back of the shelf with wire hooks so you can't see it.
I hope this gives you an idea of how to build your own corner pantry! I don't know how I ever lived without one. It holds so much food, cleaning supplies and the dog food container.