This blog is about all things I like from book reviews to places traveled. I'm also big on crafty things and party planning. And once in a while I feel the need to express an opinion or two!
Total Pageviews
Thursday, February 17, 2022
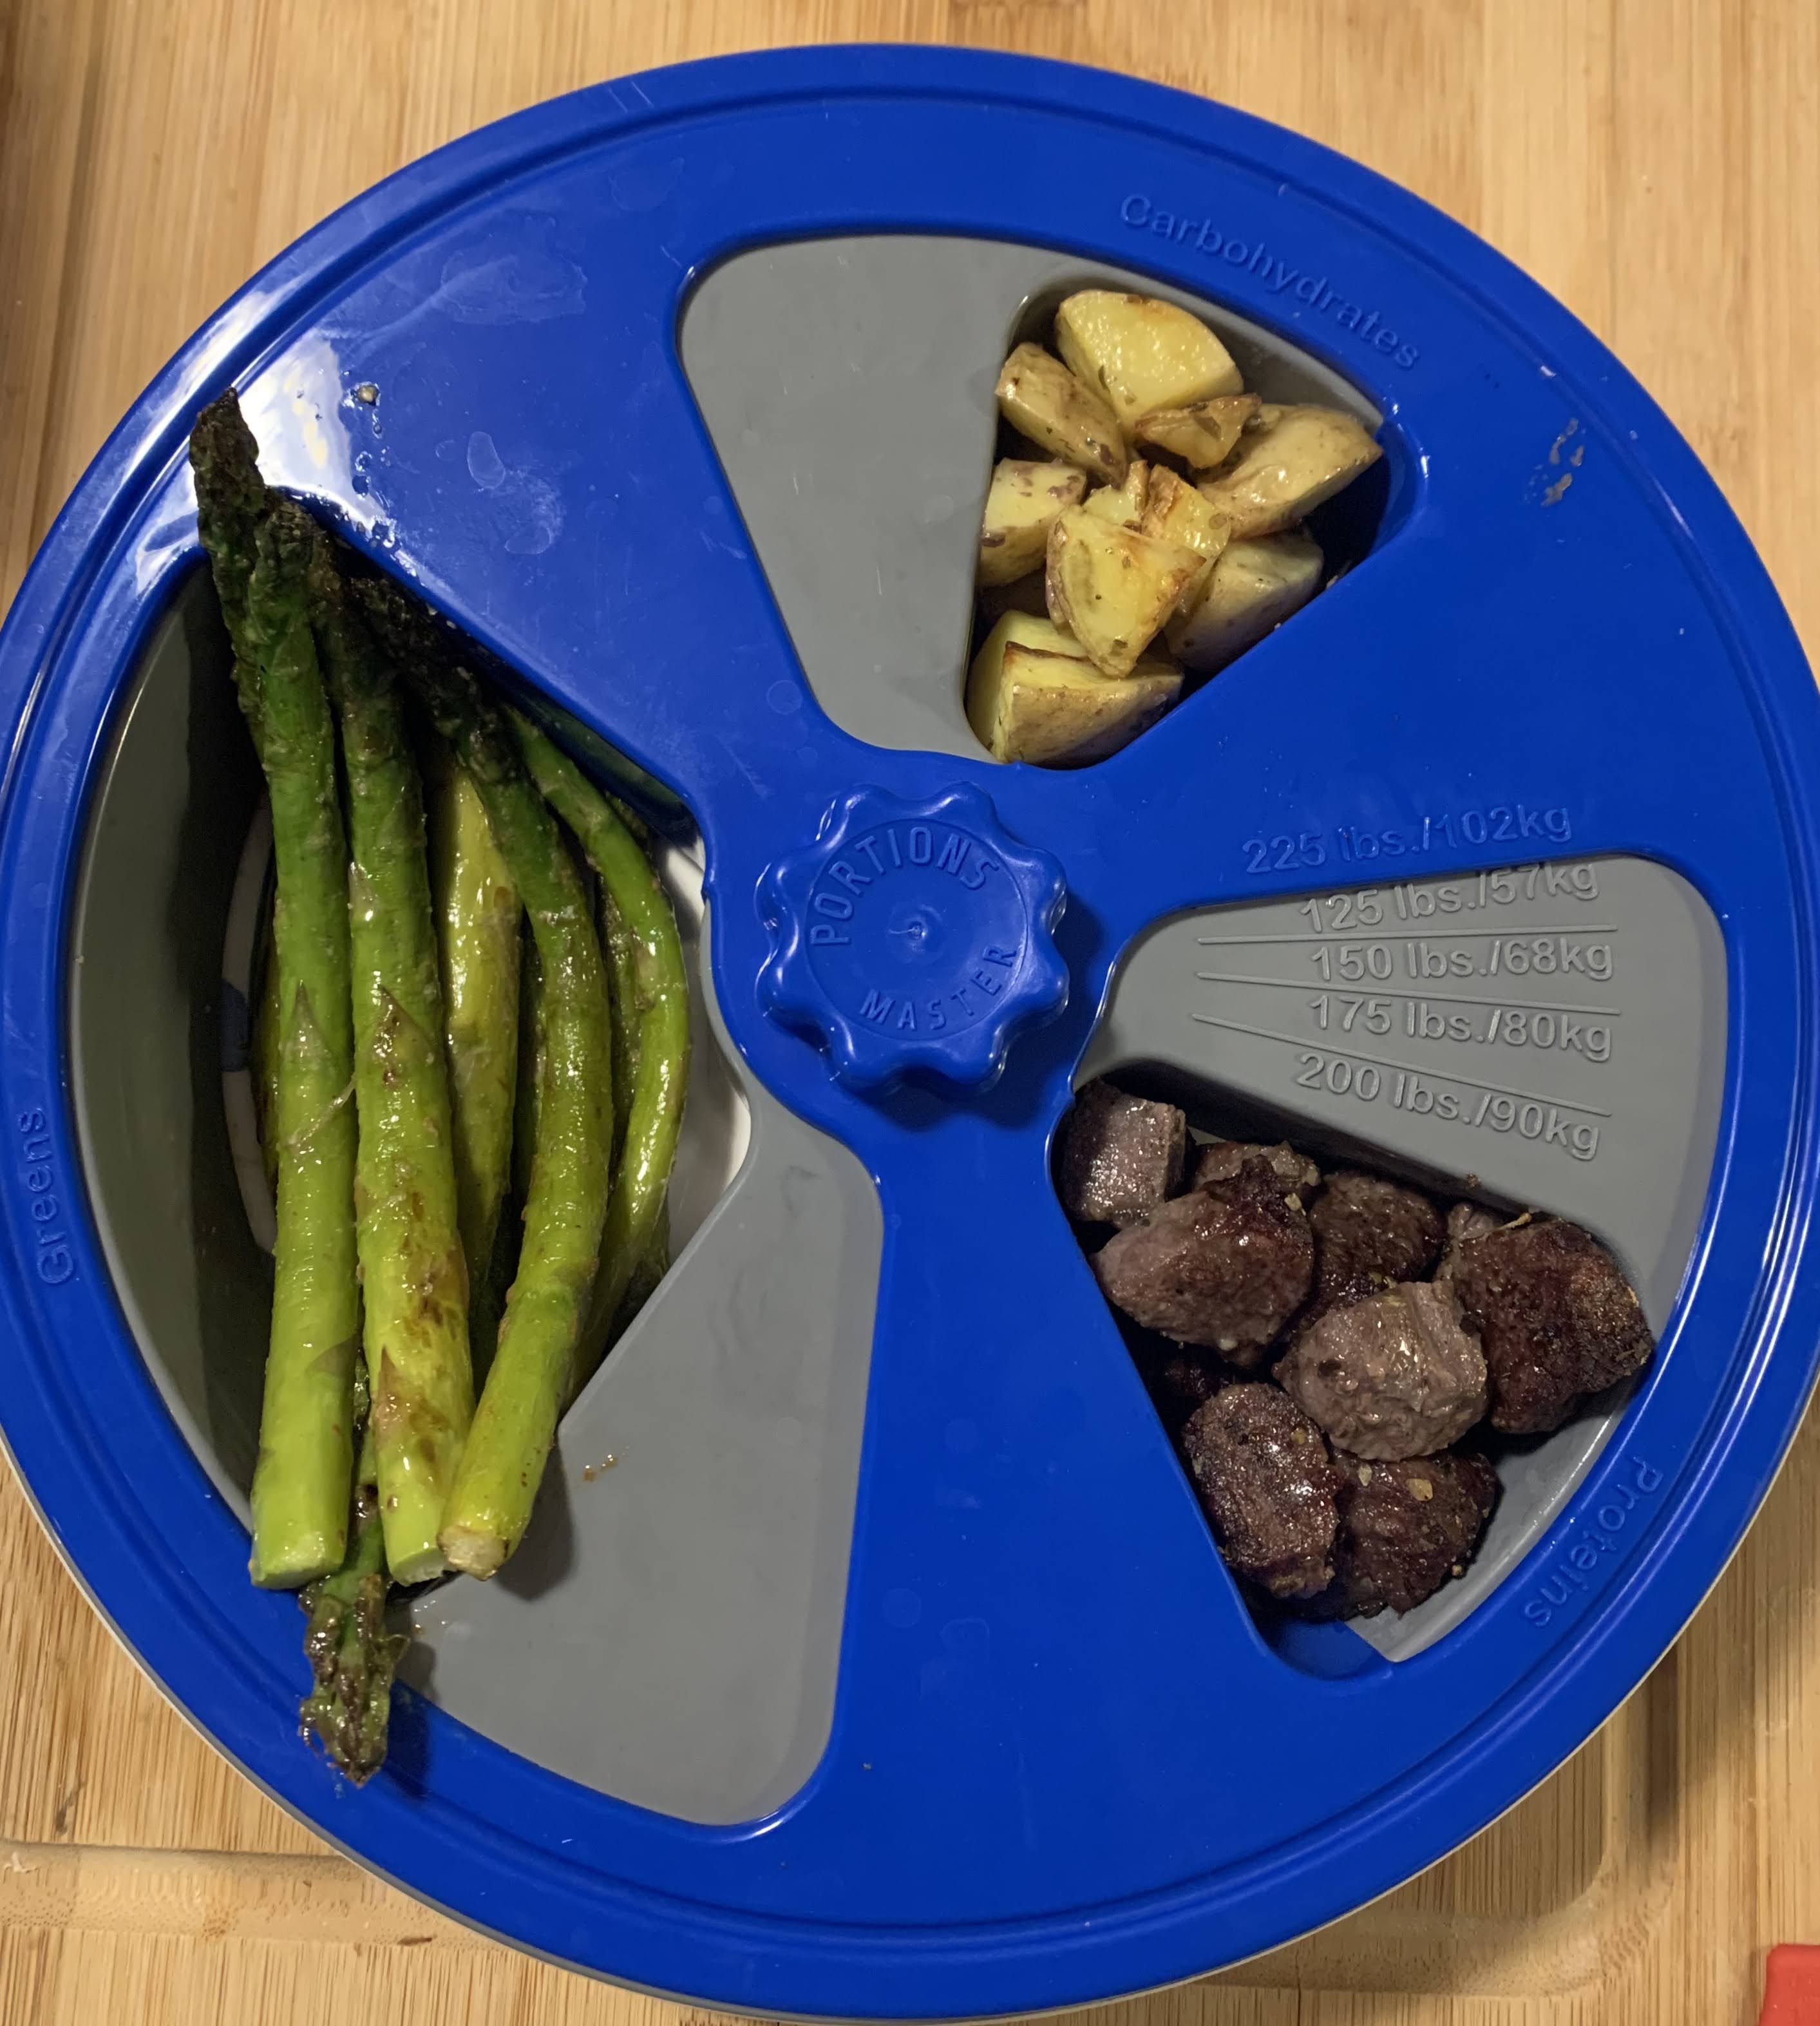
Portions Master All in One Plate Review
Wednesday, July 14, 2021
Peel and Stick Bricks with Paintable Wallpaper Remodel
I bought a fixer-upper home and have been slowly remolding it one project at a time on a limited budget. I got my house at a great deal but in exchange it has been a lot of elbow work to get it to where it is today. In fact, I lived in my tent inside my house for the first week until I could get it cleaned enough to be comfortable.
One of the most hated rooms in my house is the bathroom! It was very outdated with even an old fashioned wood toilet. The walls were another issue with two different types of texture. First thing I did was replace the toilet. The walls took me a while to figure out what I wanted to do on a budget. I covered the walls with wallpaper just until I could come up with a plan.
I love the bead board look but not the price. Luckily, I found a cheaper paintable wallpaper on Amazon for $24. Ignore the bubbles in the wallpaper 😕 because I found out that I'm not very good at hanging it BUT I have plans to cover the flaws with pictures. I also love the brick look but again, not the cost. I found peel and stick 3D foam bricks on Amazon. I would have loved if they were colored like real bricks but as this is a bathroom, the white works for me.
They were really simple to put up. I took the extra step to cut out bricks on the end of the sheets so there was no breaks in the bricks. You just peel the sheet off the back, like a sticker, and apply to the wall. After it was up, I took caulk to the lines to hide where they connected.
As for the wallpaper, I used the same trick of applying caulk to hide the connecting sheets. Unfortunately, I didn't look close enough to the caulk and applied a nonpaintable brand (insert head smack). I tried several ways to try and fix this problem but the only thing that worked for me was adding paintable caulk overtop the nonpaintable. It took a while to cover every spot but it worked!
Tuesday, July 13, 2021
One Month Meal Plan for a Better HEALTHIER YOU!
![]() |
| Left picture taken around 2013 and Right picture taken around 2015. |
As you can see from the above picture, I have been on this weight loss journey before and was able to come out ahead a handful of years ago. But then life happened; kidney stones, broken tailbone, death in the family, broke up with my boyfriend, work, kiddo and that small little pandemic that shut down the World! Things started getting back to somewhat a normal life last month and I realized as I was trying to fit back into my work clothes that I had somehow reversed all the work I had done and am now back to the first picture without even realizing! Darn those stretchy pants! So now my journey starts over to work my way back to picture number 2!
I started posting my weekly meal plan picture on Facebook and a few friends have reached out to ask for more information, since the meal planning is the hardest part. I decided to use this post to help anyone that wants to start their own weight loss journey but is a little overwhelmed. I admit that I am NO weight loss expert, just someone who has been in your shoes and knows how hard it is. Fad diets DO NOT work long term. Who in their right mind wants to give up carbs for the rest of your life anyway?!?!?
My basic plan normally sticks to the 21 Day Fix meals but I don't overly obsess about the containers. However, I do like that this plan allows for all food groups, just in the right portion amounts. No need to go buy the program. The idea is for a basic 1200 calorie a day diet, you should eat the following amounts: 4 (3/4 cup) Protein, 3 (1 cup) Veggies, 2 (1 cup) Fruit, 2 (1/2 cup) Carbs, 1 (1/3 cup) Healthy Fats, 2 (tablespoons) Seeds/Dressings and 2 (teaspoons) Oils/Nut Butters. I try to stick to this idea but not always so no need to point that out later on!
Below is my meal plans for the month (Monday - Friday). I normally just wing it on the weekends. I have linked the basic recipes to some of the dishes if you want to know how to make it. I try and follow the recipes BUT sometimes I make a few changes depending on my needs or taste.
WEEK 1
Breakfast: Egg Cups x2, Spicy Hummus, Pineapple and Iced Protein Coffee
Lunch: Tuna Salad
Dinner: Turkey Burger (no bun) with Lettuce and Cajun Fries
Snack: Banana pudding, Bananas and sunflower seeds
For the first week, I was trying to make stuff that I already had in the panty (hence the banana pudding). To make my Iced Protein Coffee, I fill a 32oz cup with ice and pour in 6oz of strong black caramel vanilla coffee and then add in 1/3 of the chocolate protein shake. One protein shake should last you three days or more. It gives you that Starbucks coffee without the calories!
The Egg Cups, I changed the recipe and used egg whites that you can find in the egg section of your store. Less calories and easy to just pour over the top of your veggies/meats. I HIGHLY recommend you purchase rubber baking cups for this recipe. I've tried oil, paper cups and wax paper but the eggs stuck to everything. I finally wised up and tried the rubber baking cups and the eggs came out without any mess. For my egg cups, I add precooked bacon, peppers, onions, spinach and jalapeno with a little pepper and garlic salt. Once my cups are filled, I pour the egg whites almost to the top. Mine takes about 20 minutes to bake.
For the Tuna Salad, there is a local restaurant close to me that makes the BEST pasta salad so I checked their website and copied down all the ingredients. Then I went to work on making a healthier version with homemade dressing and added tuna for the protein.
Turkey burger is frozen (I had a coupon) and turned my normal fries into Cajun for a little kick. My lettuce came from the little garden I planted this year.
WEEK 2
Breakfast: Egg Cups x2, Oranges x2 and Iced Coffee
Lunch: Stuffed Pepper Soup
Dinner: Pepper Steak
Snack: Banana and sunflower seeds
Breakfast: French Toast Cups, Hard Boiled Egg, Bacon, Maple Syrup and Iced Coffee
Lunch: Chicken Burrito Bowl (no rice)
Dinner: Salmon and Asparagus
Snack: Banana, cherries, peppers, watermelon and sunflower seeds
Breakfast: Boiled Egg, Bacon, Peppers and Iced Protein CoffeeLunch: Big Mac SaladDinner: Chicken EnchiladasSnacks: Banana and Sunflower Seeds
Wednesday, May 5, 2021
Eagle Scout Court of Honor Party Ideas
The day has finally came! After over 10 long years, my kiddo has been awarded his Eagle Scout Award. I'm not going to lie, there was times I didn't think he would finish but with a little push, he was able to finishing the last few things he needed. I'm very proud of him! Enough of the mommy bragging and onto his party.
I didn't get a lot of pictures because the day went by so fast but I was able to catch the ones below so I could pass on the ideas to other scout parents.
PARTY DECORATIONS
I started planning his party after he finished his Eagle Scout Project (which was building a Chimney Swift Tower for the local bird club). It was right before 4th of July holiday so I was able to pick up a lot of Flag decorations for his theme. There really isn't a lot of Eagle Scout decorations to be found and they ones that are out there is rather pricy.
FOOD
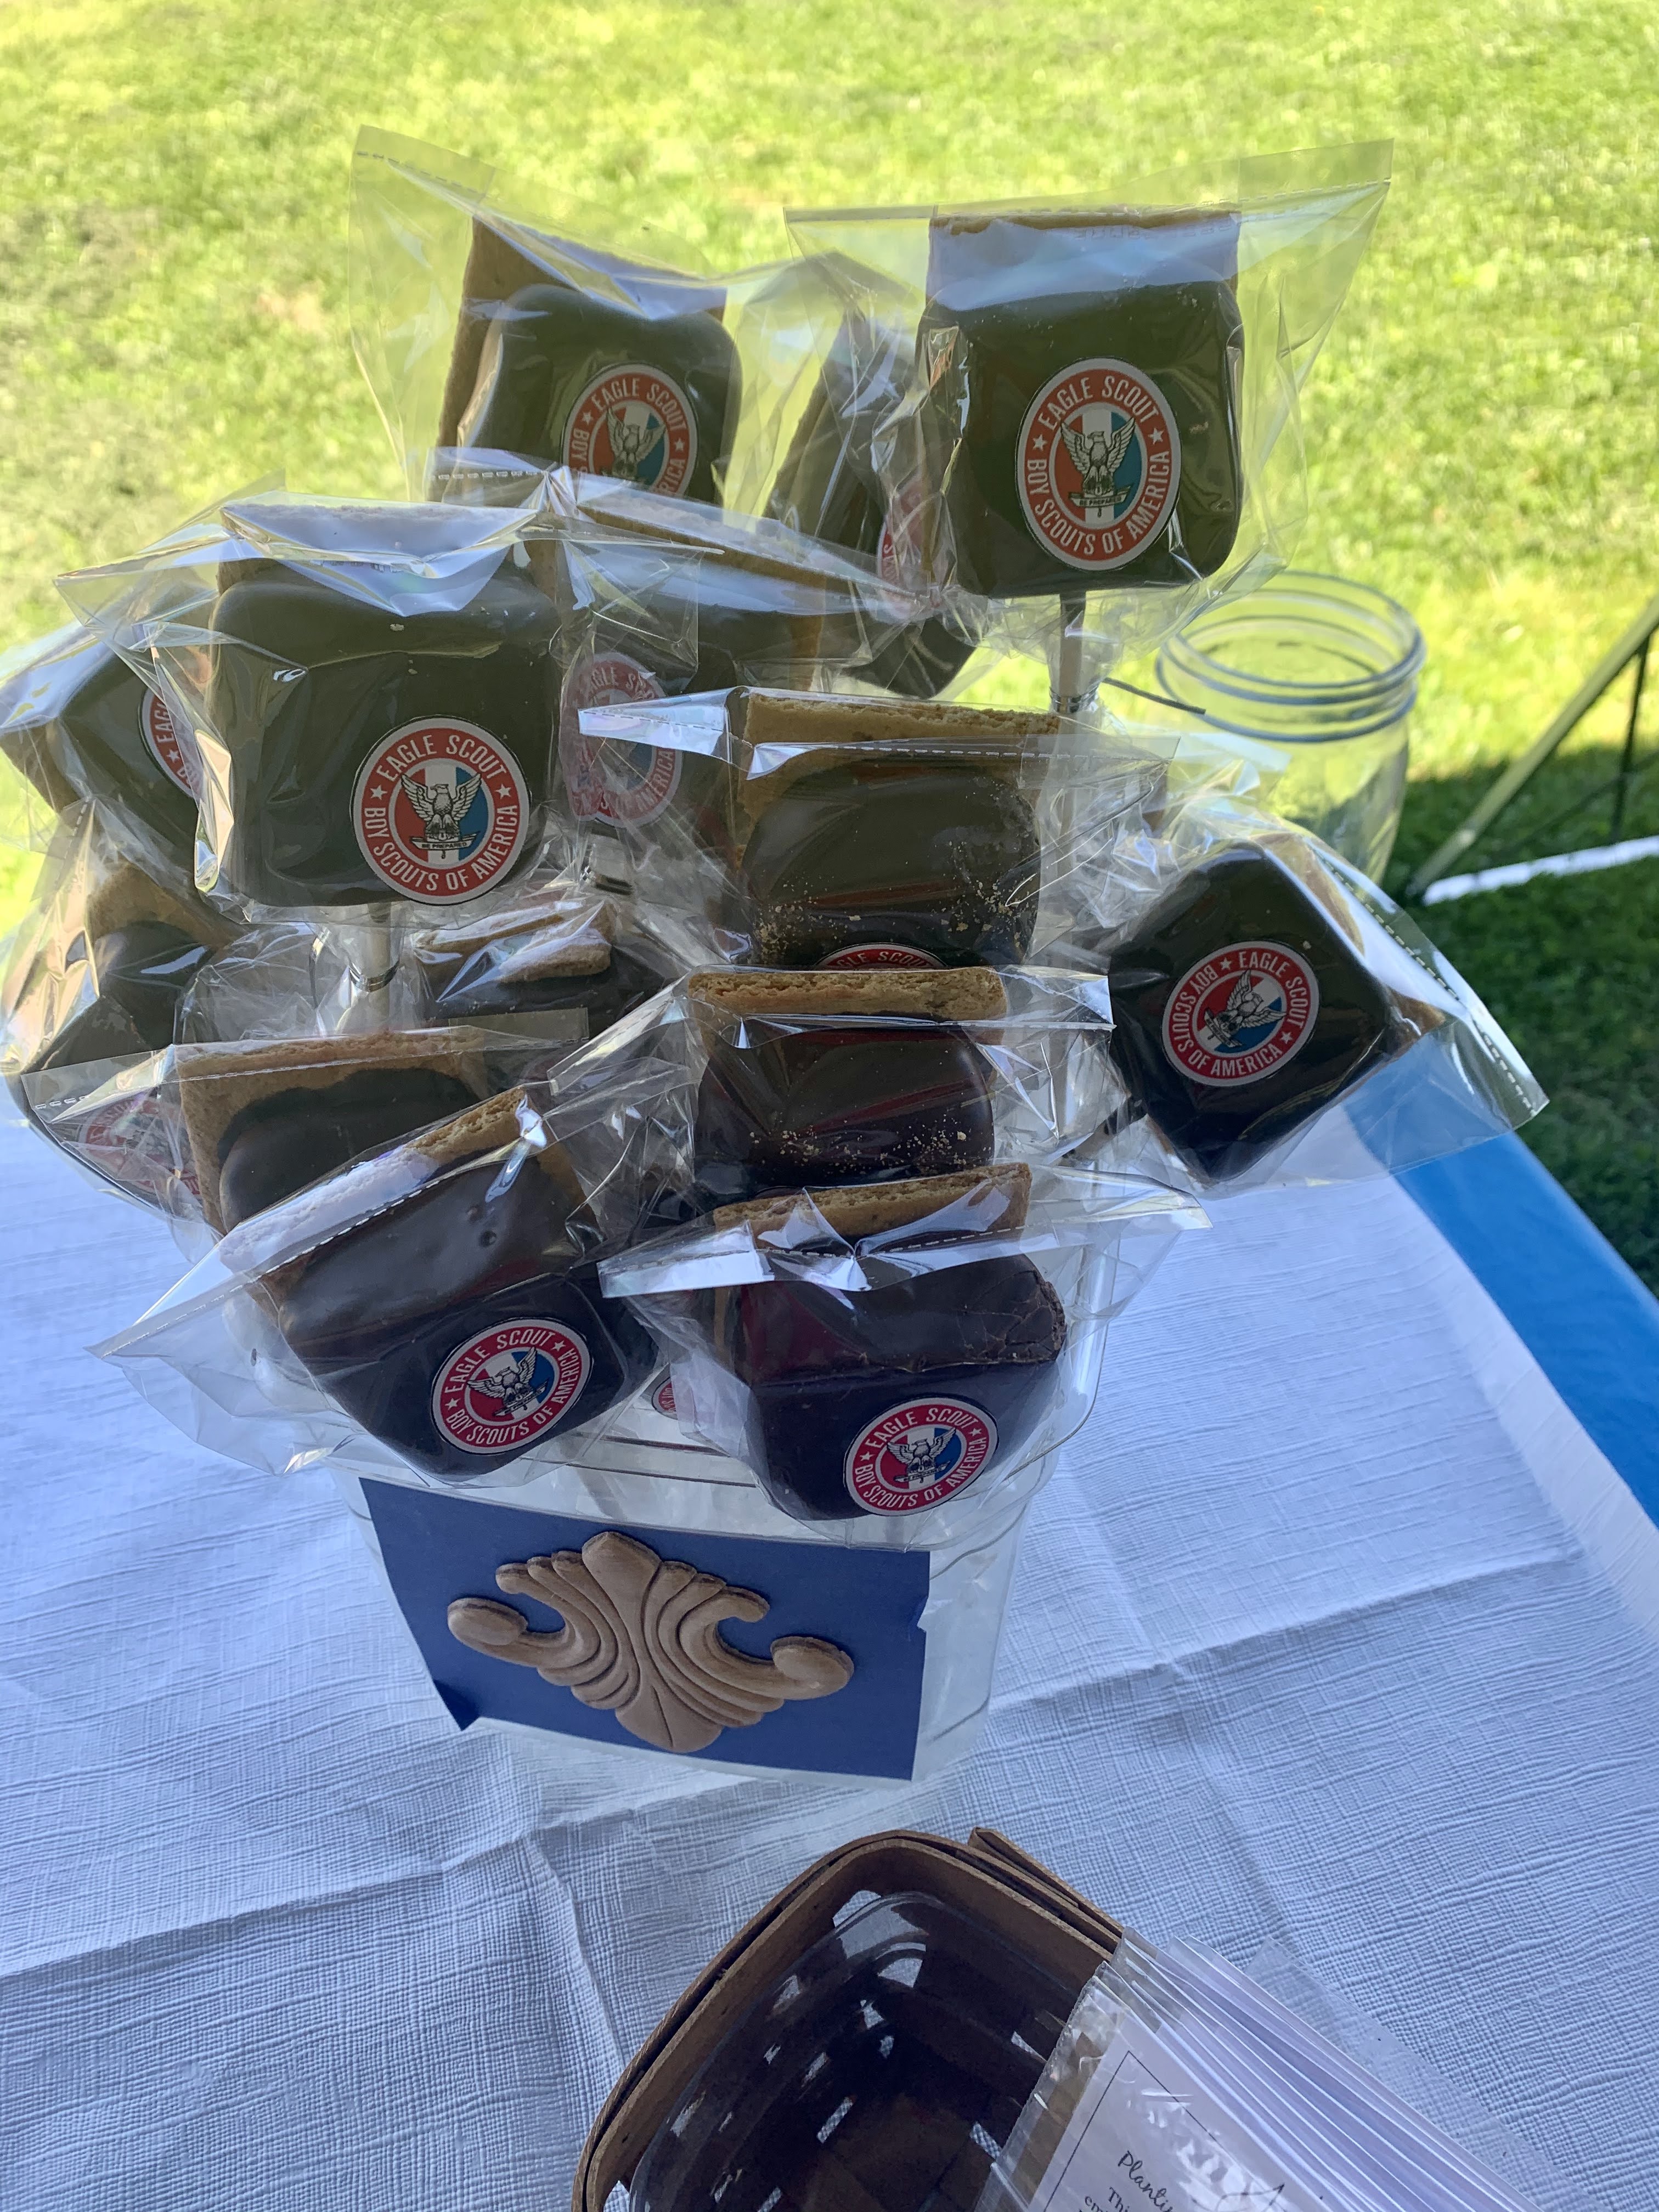
Food was a little tricky as COVID was still hanging around. I wanted to make stuff so our guests wouldn't have to use the same spoons while they get food. My solution was to make everything all ready portioned to grab and go! We also had pizza as it was easy to grab (not pictured).
RECOGNITION LETTERS
What is an Eagle Scout Ceremony without a recognition letter display. To make sure the letters did not get damaged, I slipped them inside zip lock bags. The Dollar Tree had larger gallon bags which came in handy for the larger sized letters. I then cut card stock to make the boarders. I found stickers from the Dollar Tree which I wrote who the letter was from and if they were a Scout in the past.
Monday, March 15, 2021
Building a Corner Pantry
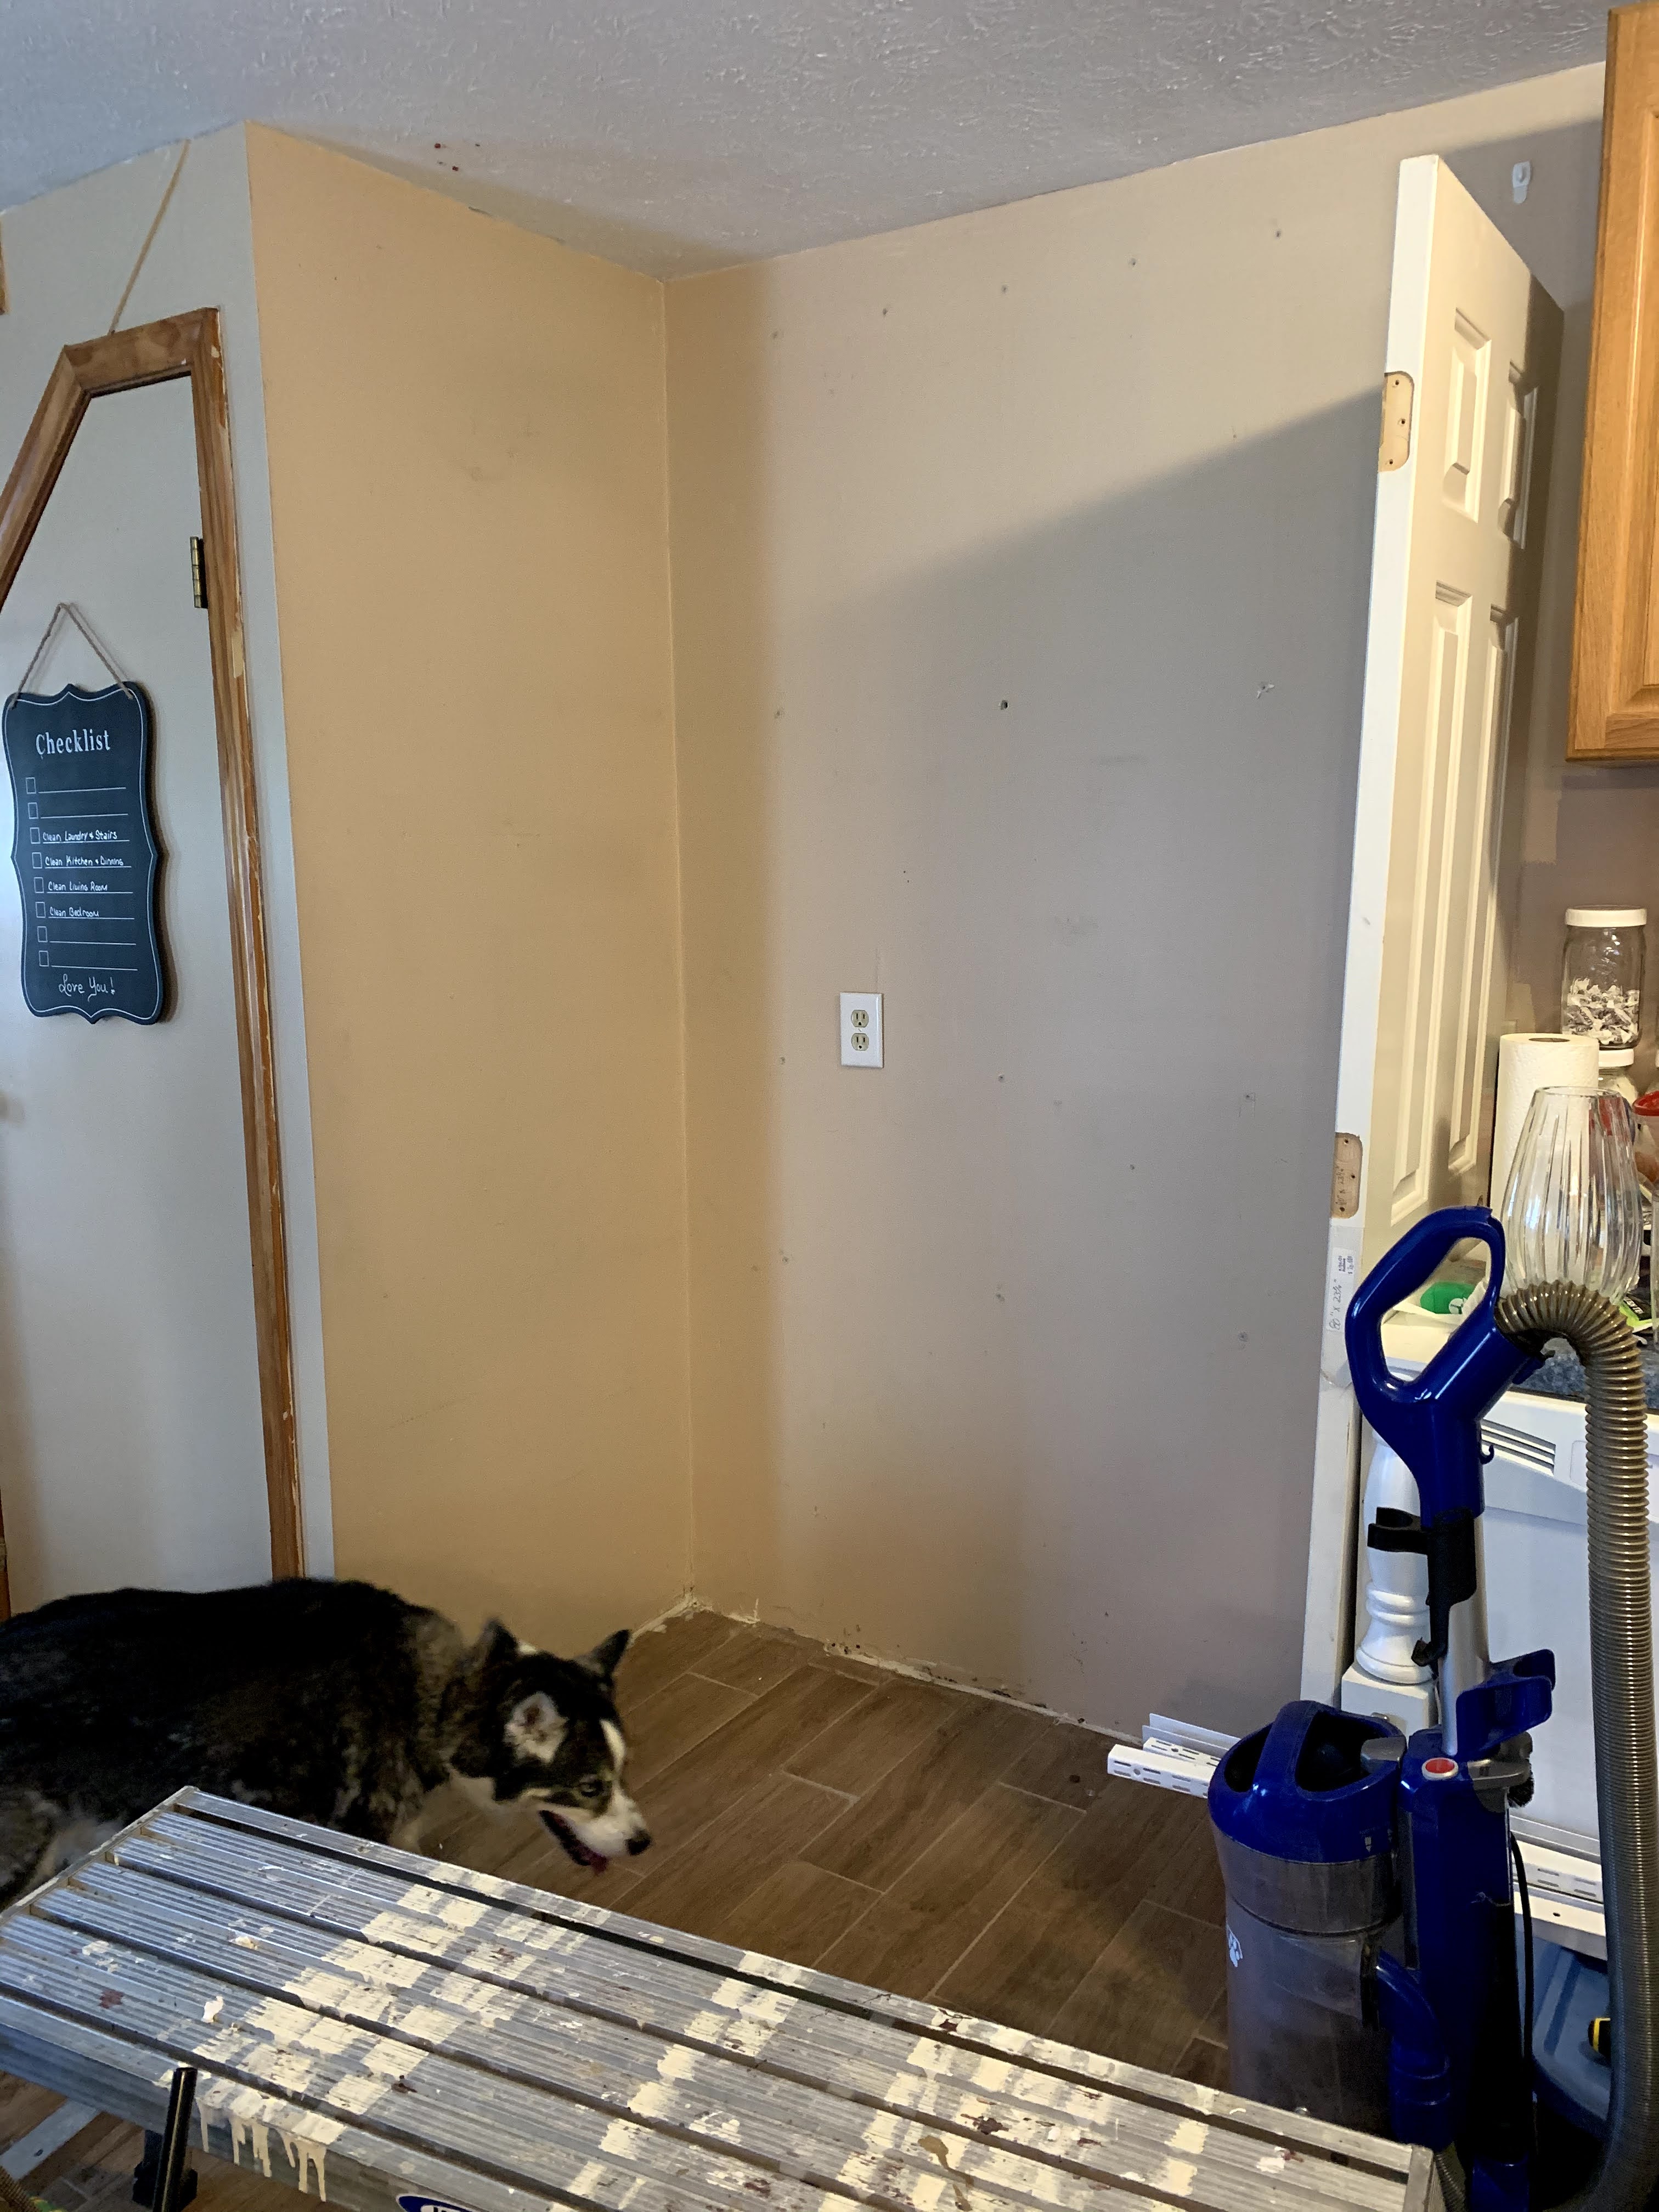
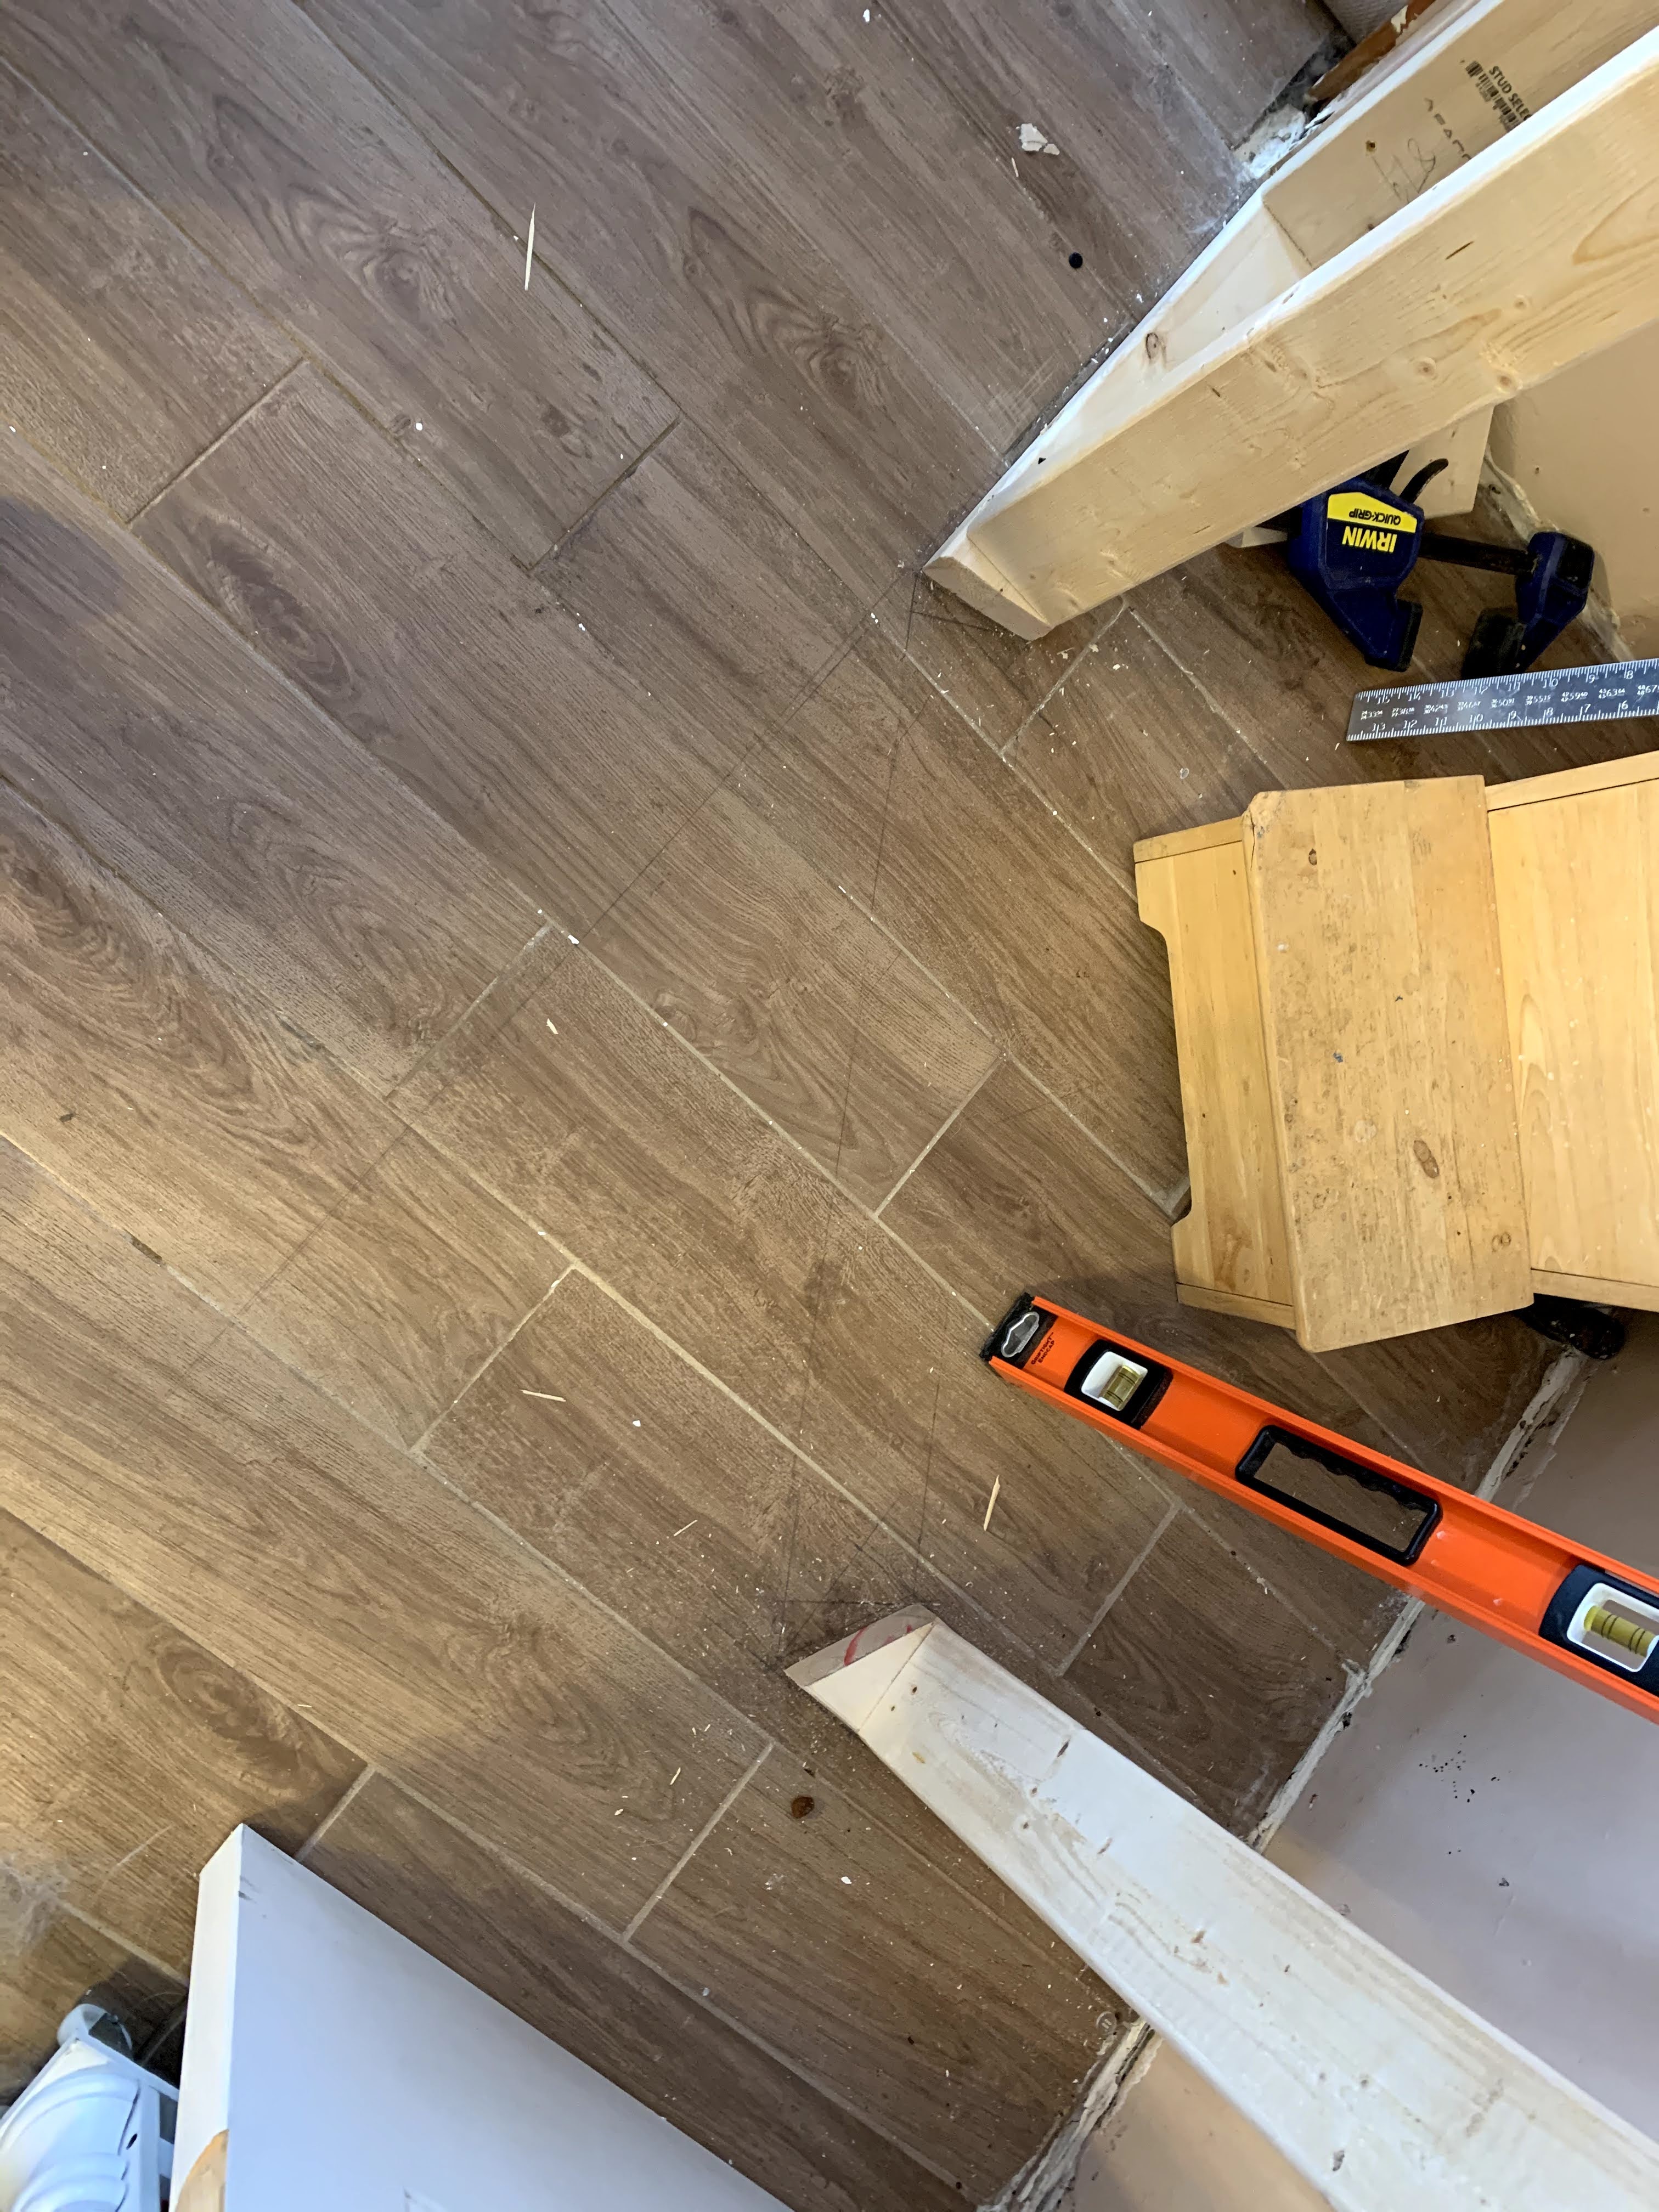
When I bought my fixer upper house, I had grand ideas and I'm slowly marking them off one by one to make my house a comfy place to live. My latest project was to build a corner pantry. My kitchen did not have any extra storage so I installed a shelving unit (left picture) and have been using that for 10+ years. I finally jumped with all the time I've had stuck at home during COVID and built a corner pantry for around $350.
I wish I could give you a blue print of this project but we (my brother and I) had to tweak it as we went. The basic idea was 16 inches for the out side walls and the door is 23ish inches. For the shelves, I used a 12 inch wide board. The shelves ended up being four feet for the long section and three feet for the shorter wall.
Items Purchased (the items with (?) is the items I already had on hand:
9 2-4-8 Studs ($34)
2 Drywall ($?)
1 Drywall Screws ($?)
6 1-12-6 Whitewood Board ($89) Shelves
6 1-3-8 Whitewood Board ($28) Shelf brackets
1 Screws ($?)
1 Door Jamb ($20)
2 Wood Shims ($3)
1 Door ($20) - found at a resale store! It is very heavy.
1 Hinges ($9)
1 Door Knob ($10)
1 Trim ($6)
1 Trim Nails ($?)
1 Caulk ($4)
1 Gallon Paint ($27)
I hope this gives you an idea of how to build your own corner pantry! I don't know how I ever lived without one. It holds so much food, cleaning supplies and the dog food container.